How I set up Strapi on my VPS for My Portfolio
How I Set Up Strapi on a VPS for My Portfolio
TL;DR
- Problem 1: Images from Strapi blocked by browser due to Mixed Content (HTTP vs HTTPS).
- Solution 1: Nginx Reverse Proxy — give Strapi a clean HTTPS subdomain.
- Problem 2: Strapi's default CORS reflects any Origin — a real security vulnerability.
- Solution 2: Whitelist only your trusted domain in both Nginx and Strapi config.
- Result: Portfolio fetches blog posts and images securely, no warnings, no vulnerabilities.
When I set up my portfolio, I wanted a proper CMS for the blog — something with an admin panel, media uploads, multilingual support, and a clean API. I landed on Strapi running on a VPS.
Getting it to work was mostly straightforward. But there were two problems I didn't anticipate that took me longer than they should have. This post documents both — so if you're doing the same setup, you don't hit the same walls.
It's written for anyone who wants to self-host their own CMS and connect it to a frontend deployed on a platform like Vercel or Netlify.
Some steps will vary depending on your domain registrar and DNS provider. I'm using Cloudflare — adjust accordingly if you're using something else.
1. Renting a VPS and Initial Setup
I rented a VPS running Ubuntu. First thing after SSH-ing in:
sudo apt update && sudo apt upgrade -yAlways do this before installing anything. It prevents weird dependency conflicts down the road.
2. Installing Strapi
npx create-strapi-app@4 your-project-name
cd your-project-name
npm run develop
I'm using Strapi v4 specifically — not the latest. My portfolio's API calls were written for v4's response format. If you're starting fresh with no existing frontend, using the latest version is fine.
Once it starts, you can access the admin panel at:
http://<your-vps-ip>:1337/adminCreate your admin account here, then set up whatever Collection Types you need. For my portfolio blog I created:
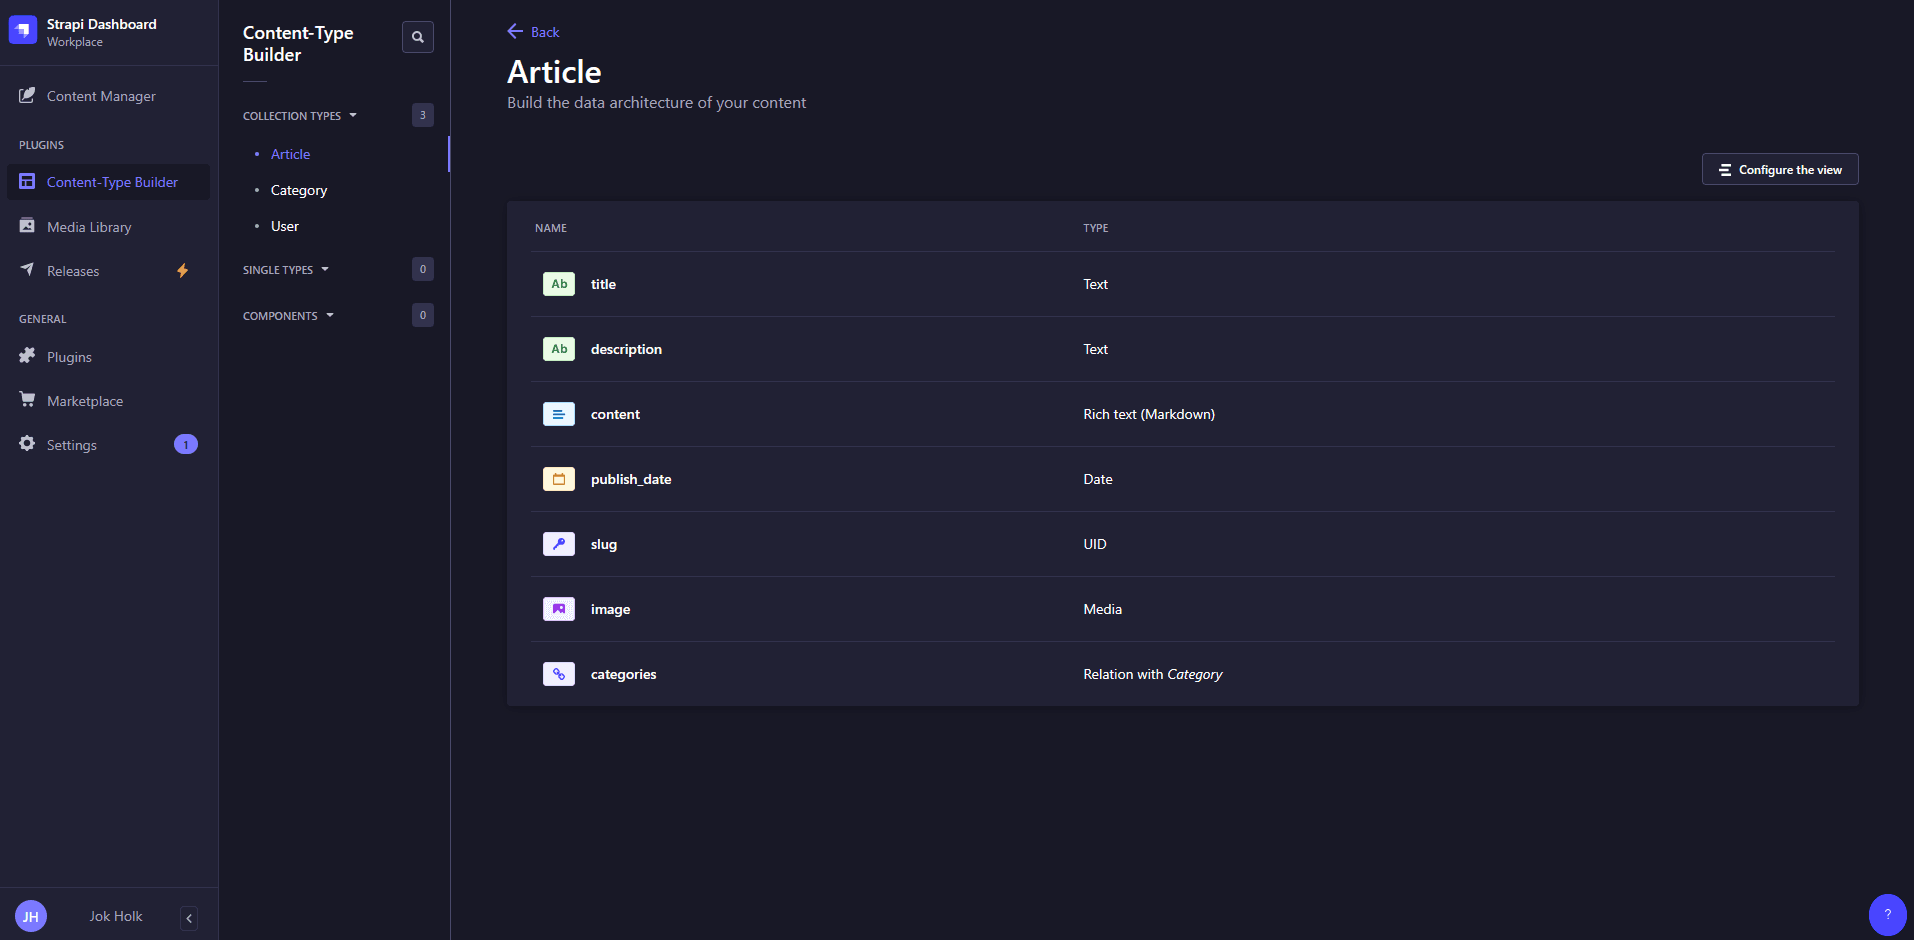
- Article — with fields for title, description, content, slug, publish date, image, and categories. I also enabled Internationalization on this collection for EN/VI support.
- Category — just a name field, used to tag articles.
After creating the collections, go to Settings → Users & Permissions → Roles → Public and enable find and findOne for both collections. Without this, your API calls will return 403.
3. The Problem: Mixed Content
Here's where it gets annoying.
My portfolio is deployed on Vercel and served over HTTPS. Strapi, at this point, is running on HTTP at http://<ip>:1337. When the portfolio tries to load images from Strapi, the browser blocks them:
Mixed Content: The page was loaded over HTTPS, but requested an insecure resource.The images simply don't load. No error in the terminal. Just broken image placeholders everywhere.
The fix is to give Strapi its own HTTPS domain — which means setting up a subdomain and running Nginx as a reverse proxy in front of it.
4. Running Strapi with PM2
Before setting up Nginx, get Strapi running as a persistent background process. Without this, Strapi stops the moment you close your terminal.
npm run build
npm install -g pm2
pm2 start "npm run start" --name your-strapi
pm2 save
pm2 startup
Run the command that pm2 startup outputs — it sets up auto-start on system reboot.
5. Setting Up a Subdomain
In your DNS provider, create an A record:
- Name:
strapi(orcms, or whatever you prefer) - Value: your VPS IP address
- Proxy/CDN: off — DNS only
If you're on Cloudflare, make sure the orange proxy icon is disabled for this record. Proxied traffic doesn't work cleanly with Certbot SSL issuance.
Now strapi.yourdomain.com points to your VPS.
6. Installing and Configuring Nginx
sudo apt install nginx -y
sudo nano /etc/nginx/sites-available/strapi
server {
listen 80;
server_name strapi.yourdomain.com;
location / {
proxy_pass http://127.0.0.1:1337;
proxy_http_version 1.1;
proxy_set_header Upgrade $http_upgrade;
proxy_set_header Connection 'upgrade';
proxy_set_header Host $host;
proxy_cache_bypass $http_upgrade;
# CORS hardening — only allow your frontend domain
add_header 'Access-Control-Allow-Origin' 'https://yourdomain.com' always;
add_header 'Access-Control-Allow-Credentials' 'false' always;
}
}sudo ln -s /etc/nginx/sites-available/strapi /etc/nginx/sites-enabled/
sudo nginx -t
sudo systemctl restart nginx7. Adding SSL with Certbot
sudo apt install certbot python3-certbot-nginx -y
sudo certbot --nginx -d strapi.yourdomain.com
Follow the prompts. Certbot will automatically update your Nginx config to handle HTTPS and set up auto-renewal.
Once done, your Strapi admin is accessible at:
https://strapi.yourdomain.com/adminAnd the Mixed Content problem is gone — images now load over HTTPS.
8. The Security Problem Most Tutorials Skip
At this point most guides stop. But there's a real vulnerability that's easy to miss.
By default, Strapi reflects back whatever Origin header it receives. This means if a malicious website sends a request to https://strapi.yourdomain.com/api/articles with credentials included, Strapi will respond with Access-Control-Allow-Origin: https://malicious-site.com — and the browser will allow the response to be read.
In practice this could let an attacker's page make authenticated API requests on behalf of a logged-in admin user, without them knowing.
A friend who does security work pointed this out after looking at my setup. The fix is straightforward — whitelist only your actual frontend domain inside Strapi's middleware config.
nano ~/your-project-name/config/middlewares.jsmodule.exports = [
'strapi::errors',
'strapi::security',
{
name: 'strapi::cors',
config: {
origin: ['https://yourdomain.com'],
methods: ['GET', 'POST', 'PUT', 'DELETE', 'OPTIONS'],
headers: ['Content-Type', 'Authorization'],
credentials: false,
},
},
'strapi::poweredBy',
'strapi::logger',
'strapi::query',
'strapi::body',
'strapi::session',
'strapi::favicon',
'strapi::public',
];pm2 restart your-strapiBy locking down CORS in both Nginx and Strapi config, you get two layers of protection. If one is misconfigured or bypassed, the other still holds.
9. How the Data Flow Works
[Browser] --HTTPS--> [Nginx] --HTTP:1337--> [Strapi]The user only ever sees the clean HTTPS domain. Nginx handles the SSL termination and forwards requests internally to Strapi on its local port. Strapi doesn't need to manage SSL directly.
10. Summary
- Install Strapi, create your collections, open API permissions.
- Run Strapi with PM2 so it stays alive.
- Create a subdomain DNS record pointing to your VPS.
- Configure Nginx as a reverse proxy with CORS headers.
- Issue SSL with Certbot.
- Fix CORS in
config/middlewares.jsto whitelist your frontend domain only.
The Mixed Content issue is gone. The CORS vulnerability is closed. Your frontend can safely fetch data from Strapi over HTTPS.